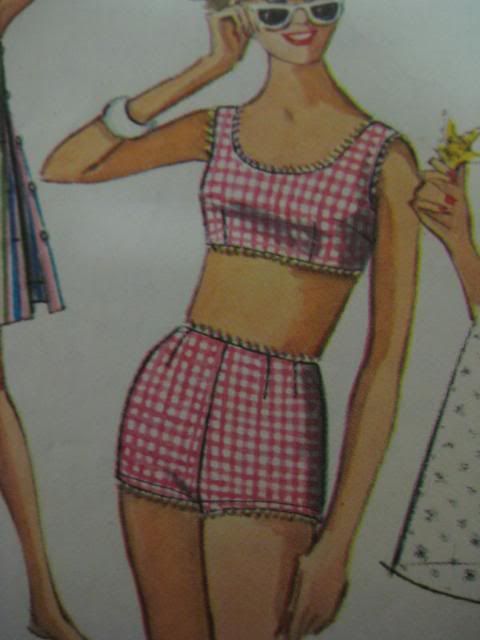
I made the top ages ago, but other projects got in the way and I never made the bottoms. I finally got around to it last night. Since it was a "teen" pattern and I had to make some adjustments to the bust, I figured I'd have to do the same for the booty.
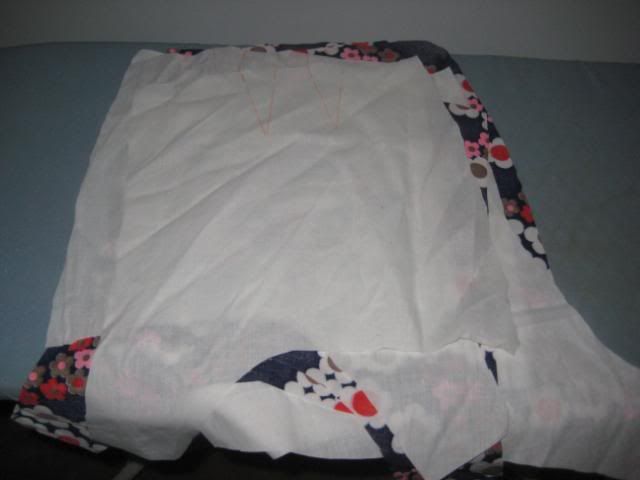
So I made a muslin first, out of this hideous fabric that was part of a thrift store grab bag. I'm not sure what's going on here. We've got teddy bears eating watermelon....with frogs? And tomatoes and bluebirds?
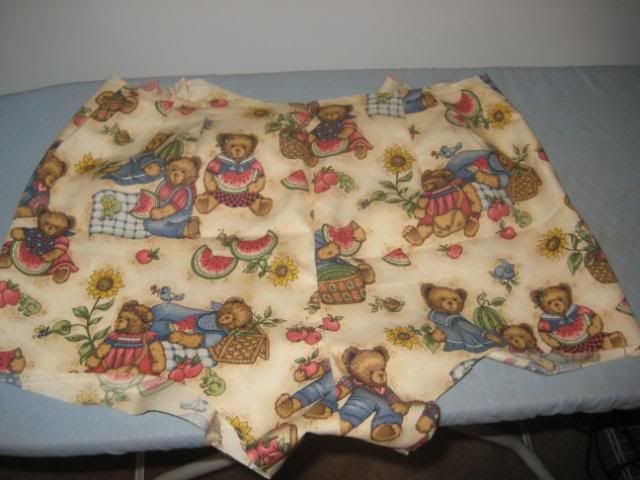
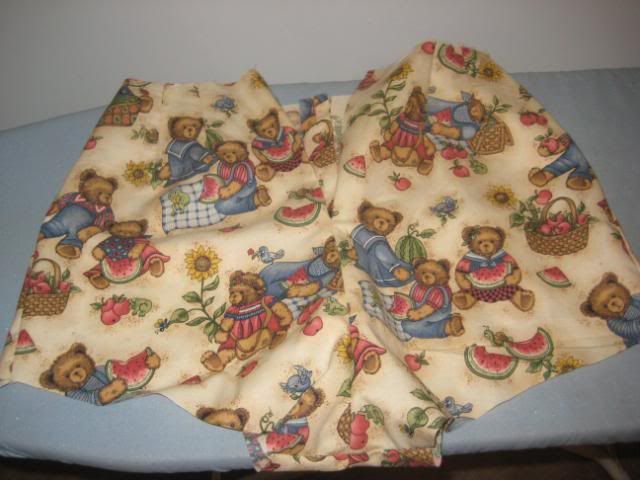
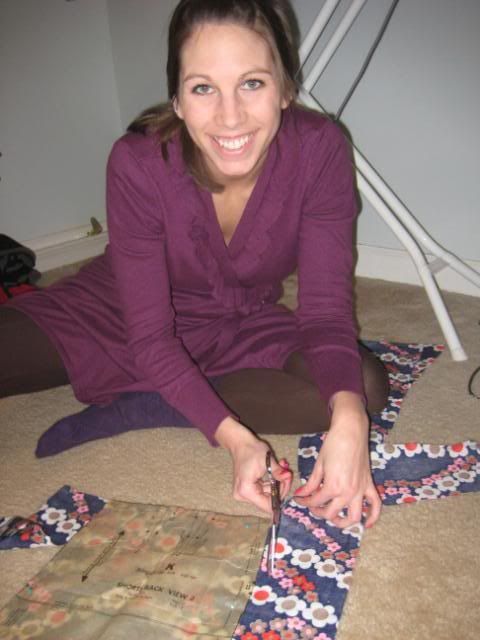
I was right, it was a bit tight in the seat. I definitely have a more ample backside than beach-going teens in the 60's. I adjusted my pattern piece for that by cutting a little extra on the sides. Bonus action shot of Lamb helping me cut!
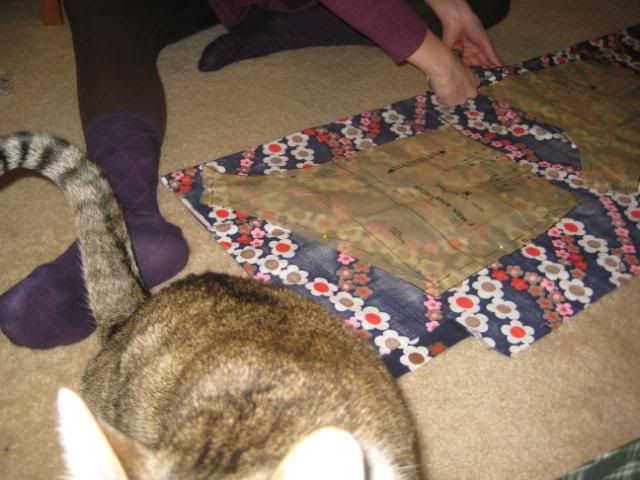
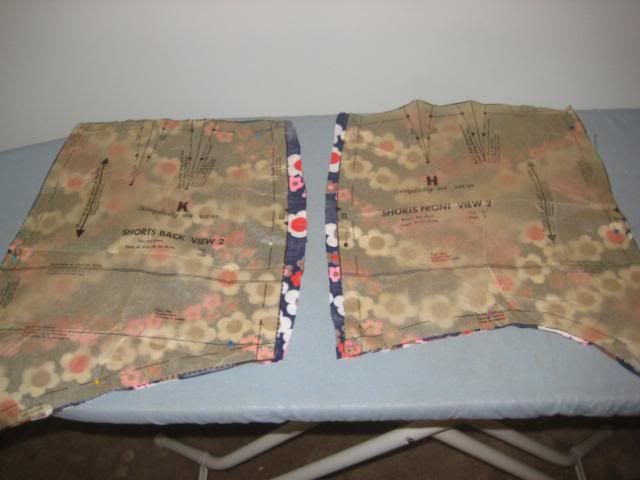
My husband came and talked to me while I was cutting because it can get a little tedious and boring. So he took the camera and took the first ever sewing action shot on the blog.
Live action cutting!
I cut out my lining, marked my darts, and had a gigantic pile of pieces waiting to have darts sewn. Kids, do as I say, not as I do - I got impatient and backstitched the darts on the lining pieces. You shouldn't do this! You should hand-tie the loose thread.
I got all 16 darts sewn, and then sewed the front pieces together, and the back pieces together, repeating all for the lining. Since the seam is curved, you should press it with a tailors ham. I don't have one, so I used the next best thing - one of my husband's t-shirts.
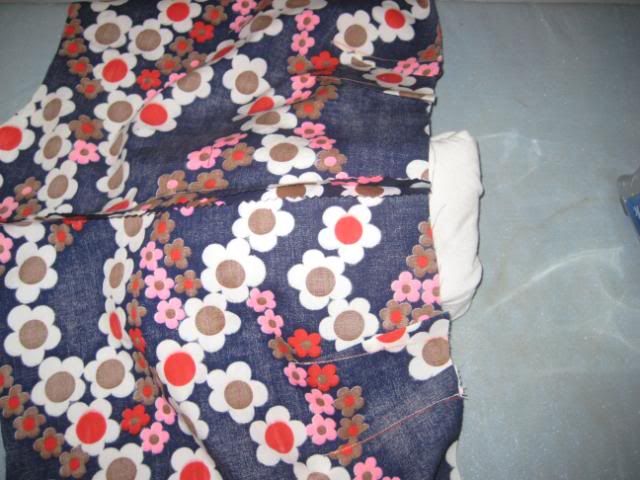
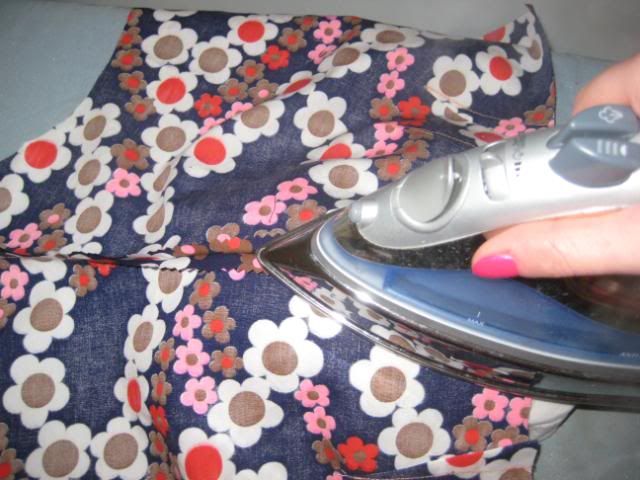
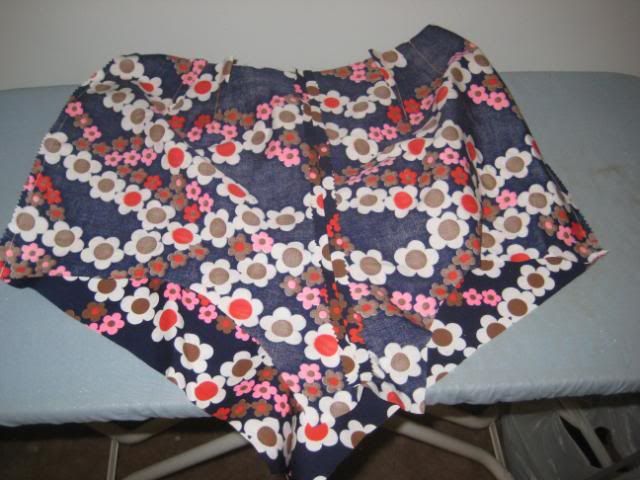
I sewed the backs to the fronts, and my bloomers are taking shape!
The next step (before the lining) was to do the zipper. I would not normally use a nylon zipper, but I had one in my drawer that was exactly the right color and size, and nothing even remotely similar in metal, so I went with it. It's a Coats & Clark invisible zipper. I forgot how easy those are to sew and how great they look. Allllllmost enough to tear me away from my obsession with metal zippers, but not quite.
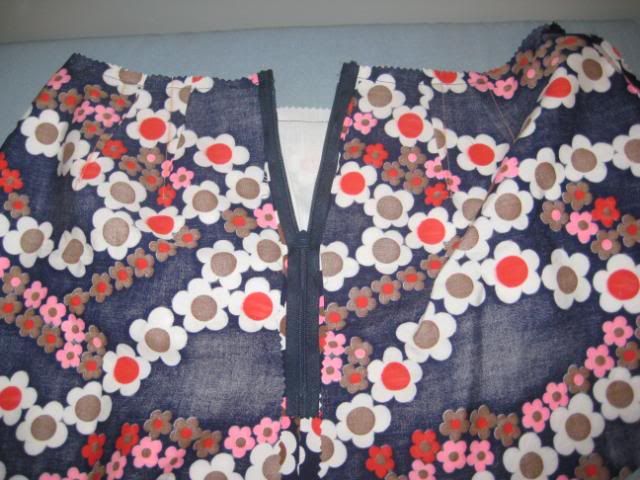
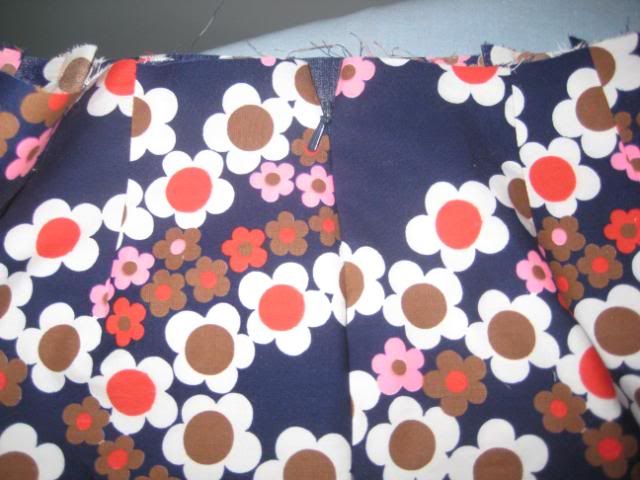
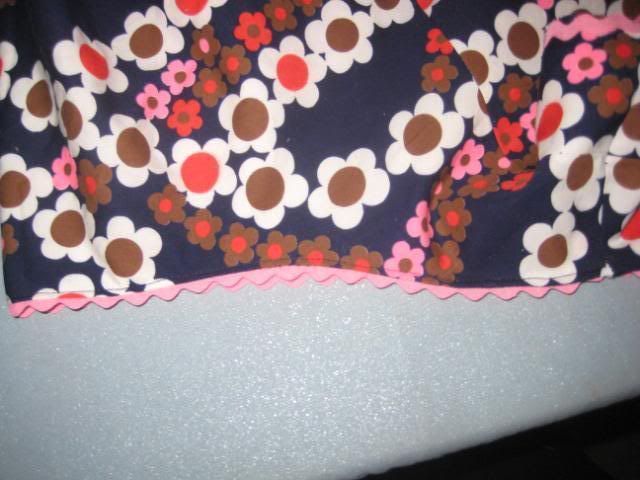
I sewed in my lining and turned it right-side out, and then trimmed the leg openings with rick rack. That part was super easy; you position the rick rack about an inch from the bottom of the leg opening, sew right through the middle, and then fold it under and topstitch in place. Simple! This it what it'll look like on the outside.
And now I have a finished 60's bathing suit! What kills me is how huge the bottoms look on a hanger. Which I know is because they're made of cotton broadcloth with no stretch, and I'm sure a pair of pants would be that wide too, but it's kind of a self-esteem killer. Oh well, it's adorable and I'm looking forward to traumatizing my husband with it on the beach.
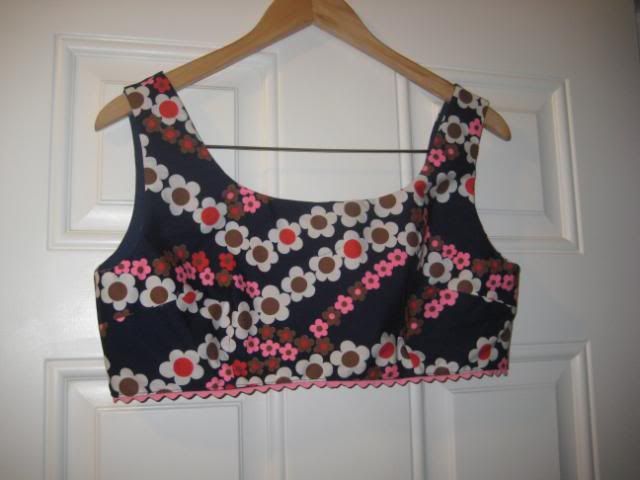
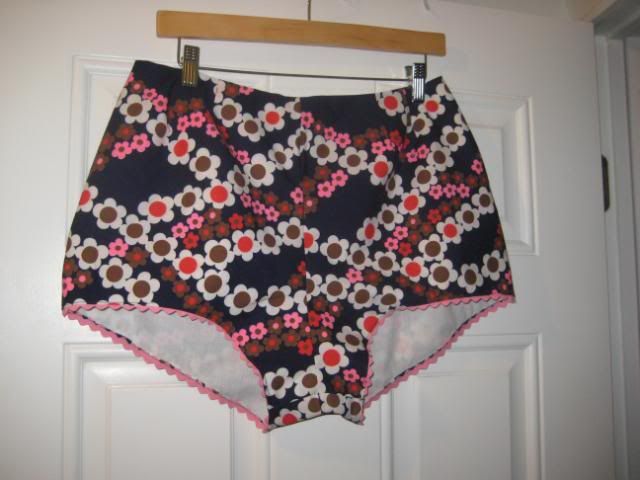


Seriously the cutest thing ever! I have a metal zip obsession too. I raced my sister to a ginormous rubber-banded pile at a flea market last year for TWO DOLLARS!!! Woohoo!! Of course price doesn't include sisterly pouting for an hour, but it was still a bargain. ;)
ReplyDeleteThat is a super cute suit. I have almost purchased that same pattern a couple of times. Now I am sort of thinking I may have to hunt it down again.
ReplyDeleteI bet this will look adorable on you. The ric rac is so cute. You should post pics of you wearing it. Be sure and put them on Sew Retro if you do.
ReplyDeleteGreat job! That fabric's pattern is perfect for a swimsuit.
ReplyDeleteOh! it look so cute! ready for the summer or spring! ncie!
ReplyDeleteI'm loving this bather set. Bloomers, schwoomers... they look fantastic and you'll be a real beach belle! I just moved to WI so am enjoying reading about thrift stores... thanks!
ReplyDeleteVery cute! The matching ric rac is fab. Invisible zips are magical ;)
ReplyDeleteAnother way to secure dart ends is to backstitch just to the inside of the seam. They do this with RTW often. It's faster and more secure than tying threads.
FABULOUS swimsuit! What a great fabric/pattern match!
ReplyDelete