My friend told me about Colette Patterns; her and Sarai had worked together a few years ago. I checked out their website and loved everything, but was a little hesitant to spend $16 on a pattern. Not that it's that expensive, but when most of my patterns are thrift store and rummage sale finds for about a quarter each, $16 sounds pricey. But I've heard really good things about the detailed instructions, and my fellow bloggers seem to love them, so I went for it and ordered the Sencha blouse.
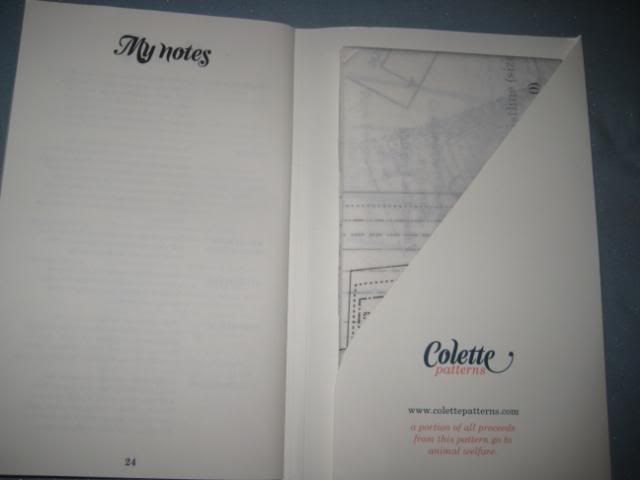
It arrived a couple days ago, and the packaging is utterly delightful. The booklet is sewn together (adorable touch!) and comes with incredibly detailed instructions.
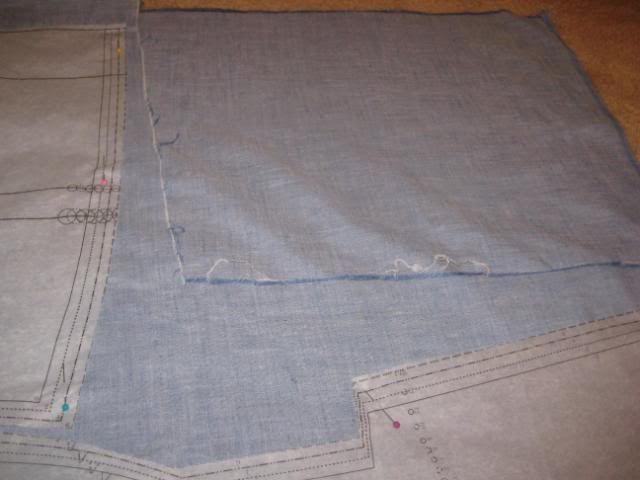
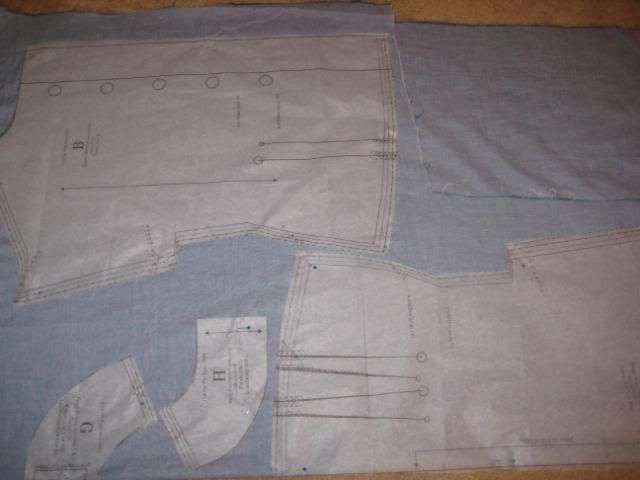
I started with Version 1, which is the basic blouse. I used some soft chambray I picked up at a church rummage sale. There was enough yardage, but it had a small square cut out. I had to disregard the suggested layout and just place my pieces where they fit. Luckily the fabric didn't have a nap or a print or it never would have fit.
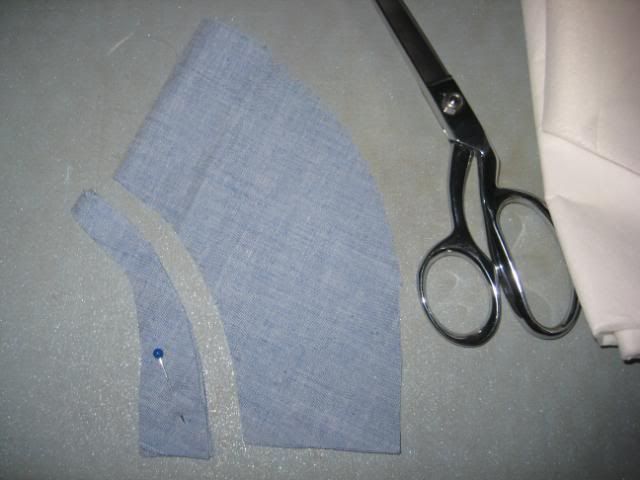
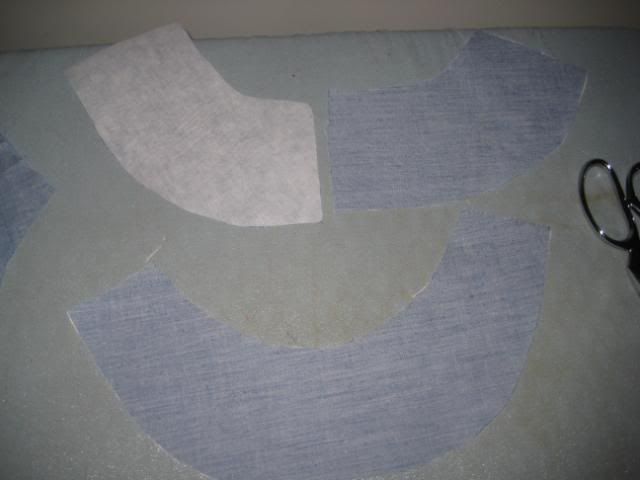
After I cut out all my pieces, I did my usual lowering of the neckline. Gotta show some collarbone! I cut away at the bodice front first, and then laid the scrap on top of my facing pieces and cut away there, too.
Since my fabric is really soft and a little stretchier than most cottons I work with, I reached for the heavyweight interfacing.
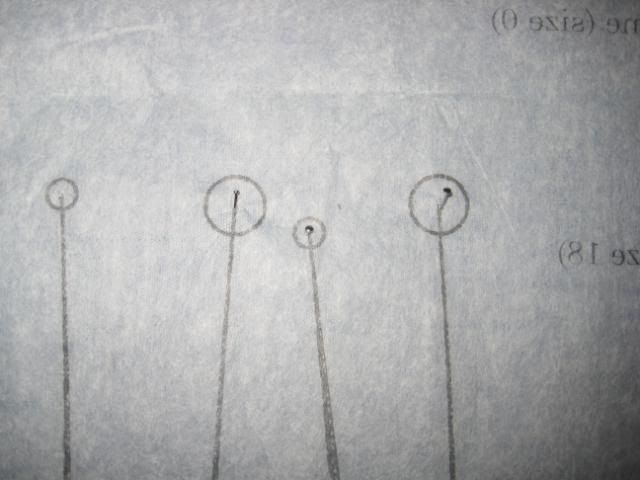
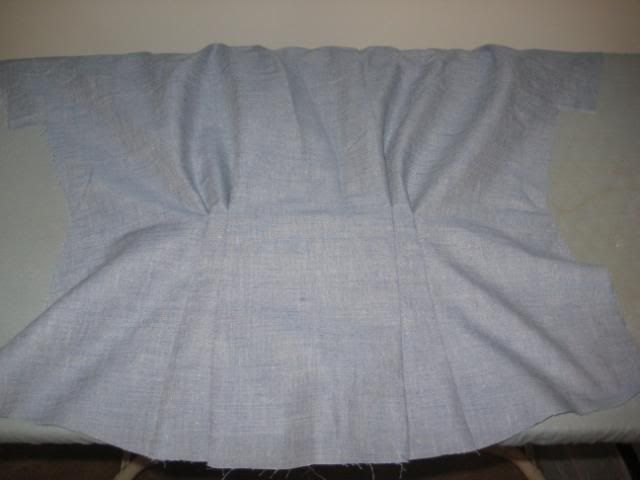
For shaping on the blouse front, there are two deep tucks on either side. The tucks were super easy, I just marked the circles with a pin, and then made a little dot with my orange tailor's pencil.
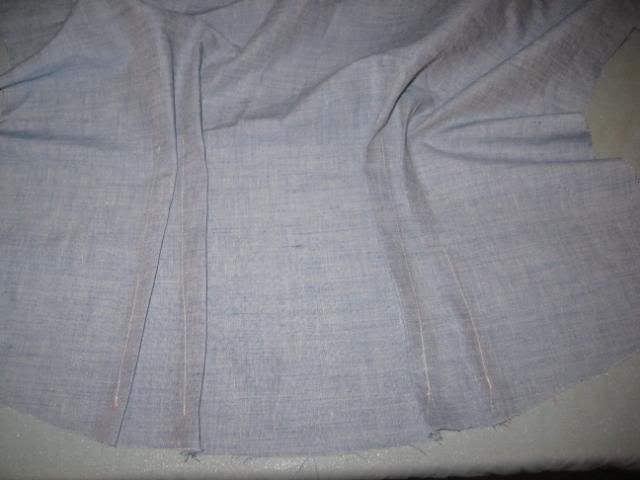
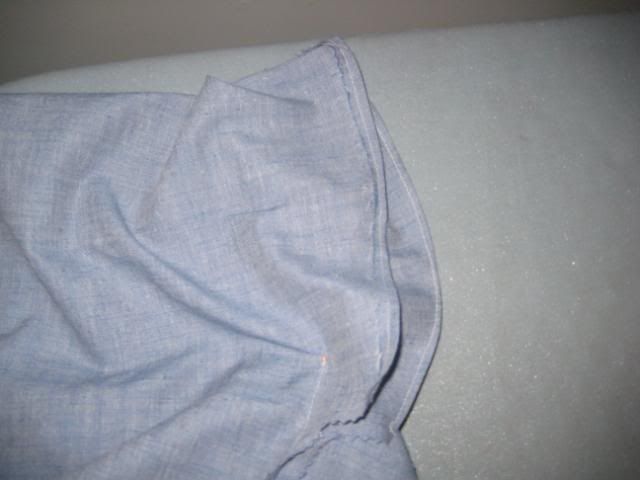
Match up the dots and sew between them, and you're done! It was easier to do than darts. Here's the inside after I pressed them towards the center.
And the outside. I can already tell it's going be really flattering. Anything that is fitted at the waist and then gently skims the stomach area always works really well for me. I have an aversion to anything that clings to my stomach.
After I sewed the backs to the fronts and the shoulder seams, and sewed the side seams, I moved to the sleeves. The directions said to fold the sleeve over 1/4th inch and edgestitch. I followed the directions to a T this time, but in the future I could skip this and hit up my stash of vintage seam tapes and bias tape to finish the edge. Either would look really nice, I think.
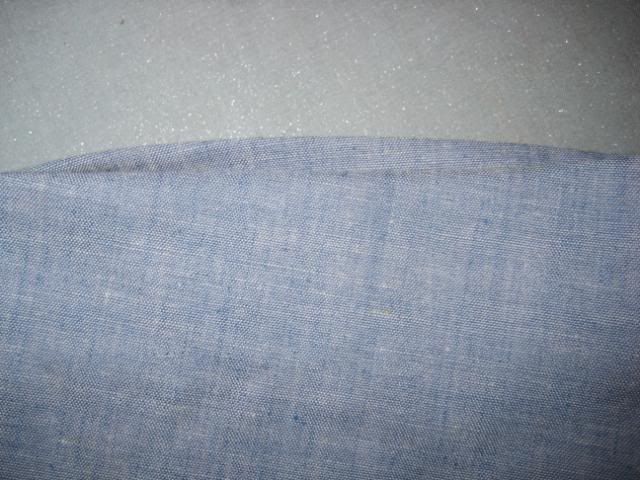
The final thing I did last night was finishing the sleeves. I gently pressed them in place and secured them with a couple pins, and then catchstitched the sleeve edge to the blouse. I don't mean to boast, but I am getting really good at that. I challenge you to find a stitch!
All I have left to do is the buttons and hem. This top was so easy that I bet I could knock out one of each version in no time!
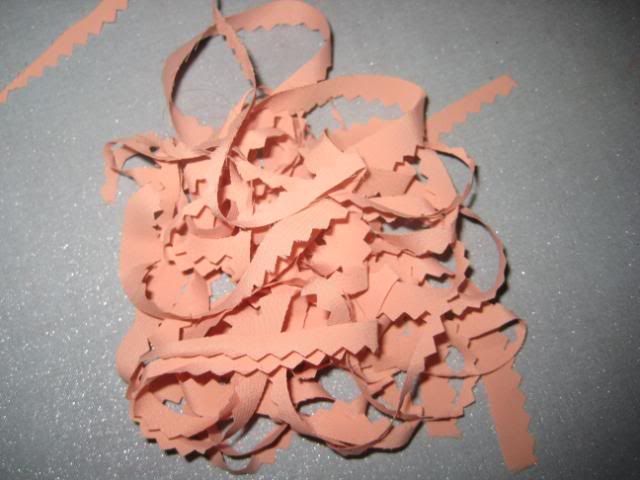
I also started another project last night which I can't talk about yet because I'm making it for someone and I want the finished product to be a surprise. It's for a pretty well-known blogger, so there's definitely a lot of pressure to make it perfect. I don't want to give too much away, but it's going to be made out of the prettiest, softest peachy silk from the 1930's. Even the scraps are gorgeous!
No sewing tonight as the husband and I are going to see Pete Yorn. A sexy man with a guitar and 16 oz PBRs? Yes please!



I can't wait to see how your sencha turns out. I am the same with you in the top department. I love jeans but can never find tops to wear. I need to start making more of my own.
ReplyDeleteI've been looking on-line for an easy way to lower the neckline on almost every thing I make... do you have a formula?
ReplyDeleteI made the Sencha (with tie) and it strangles me unless I leave it untied. So many other dresses I've made also strangle me... pretty uncomfortable!
No, I just kind of wing it! I don't have a scientific method. If you make a muslin first, you can play around with it and not worry about ruining your final garment.
Delete