Two whole years! And I'm still enjoying sewing? Wow! The past year has been really good, sewing-wise. I branched out from 50's style dresses and made a lot of different types of garments. I didn't make quite as MANY as I did last year, but I feel like what I did make, I like and wear frequently. Here's my yearlong tally:
8 Dresses
5 Blouses
3 Jackets
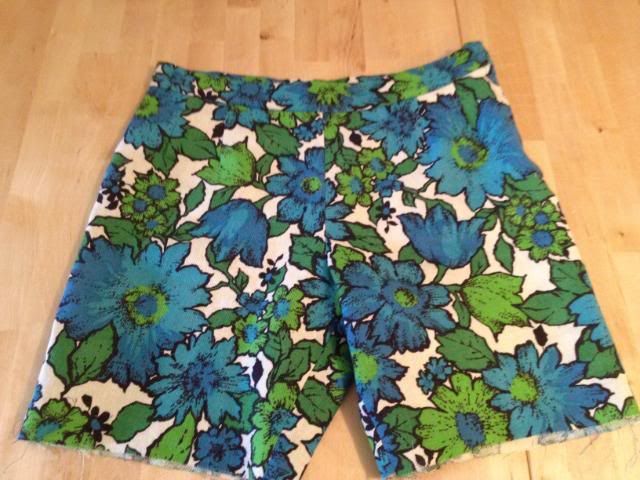
2 Pairs of shorts
2 Knit sweaters
1 Pair of pajamas
1 Dress refashion
1 Halloween costume
1 Coat
24 garments total! Let's not include my disastrous Amish maternity Alma blouse or the blue and white floral skirt that ended up sized for a child, okay?
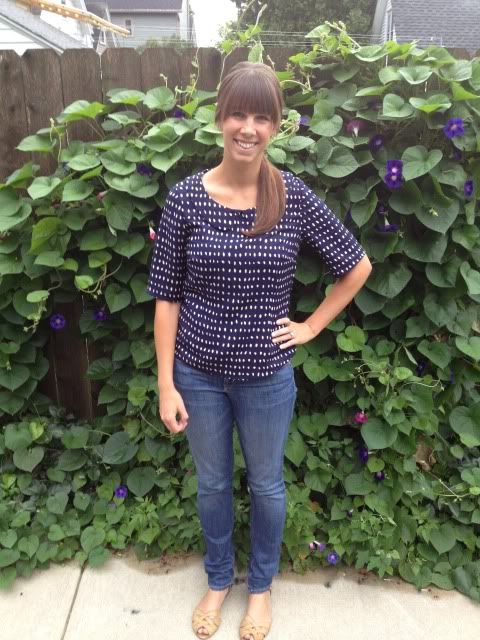
My favorite thing I made all year is definitely this Alma blouse. It's one of my newer projects, but it has already been worn to death. I made it to wear with jeans, but 99% of the time I end up pairing it with my favorite pink Gap capris.
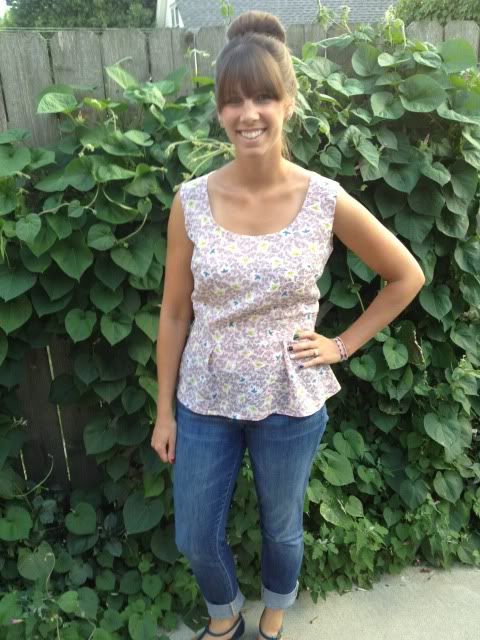
This self-drafted tank was also a summer favorite, and I'm definitely going to try to "winterize" it this year with a cardigan. There's so many great colors in it. I could go basic black or white, or add a little color with blue or lime green cardigan. It's such a pretty, girly top, and I always feel cute when I wear it.
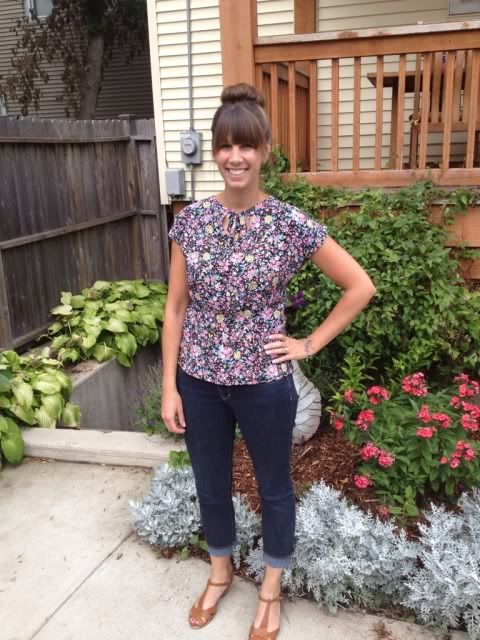
Colette Patterns Sencha has been a staple of my sewn wardrobe since the start, and this pretty floral rayon one is no exception. Good thing this pattern has three different necklines! Otherwise I'd be that weirdo wearing the same shirt in different colors every day.
2012 had something new for me, which was shorts! I made two pairs this summer, but only one got any play. I wore these several times, mostly with a solid tank and a cardigan. I didn't want to get too wild on top, considering my butt is basically upholstered.
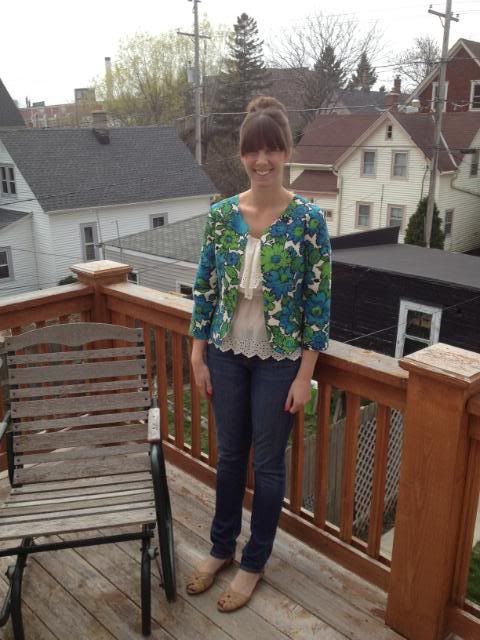
I made a matching jacket just because I loved the fabric so much, but I promise I did not wear them together! That would just be too much. I wore the jacket this spring/summer with a tank and jeans, and I think I can probably get away with wearing this through the end of the month before I have to pack it away for winter.
Speaking of jackets, I made two others with the same pattern, but they never got any love. My readers hated the black and pink bow-print one (as did I) and the solid black one never got finished, probably due to boredom. I like sewing fun, whimsical things! I'll stick to buying the basics in stores.
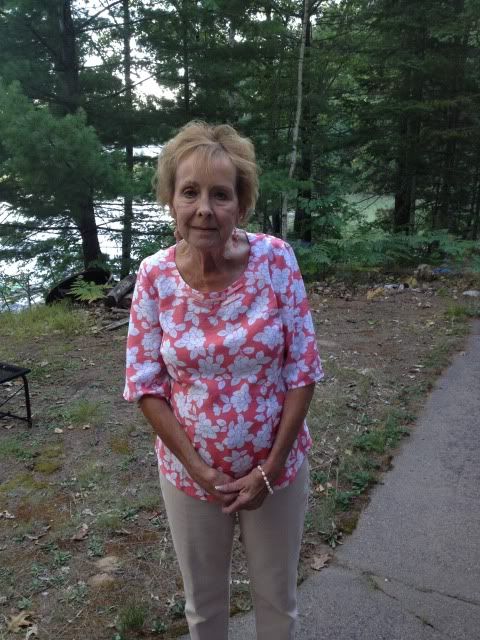
Another first for me was sewing an item for someone else!
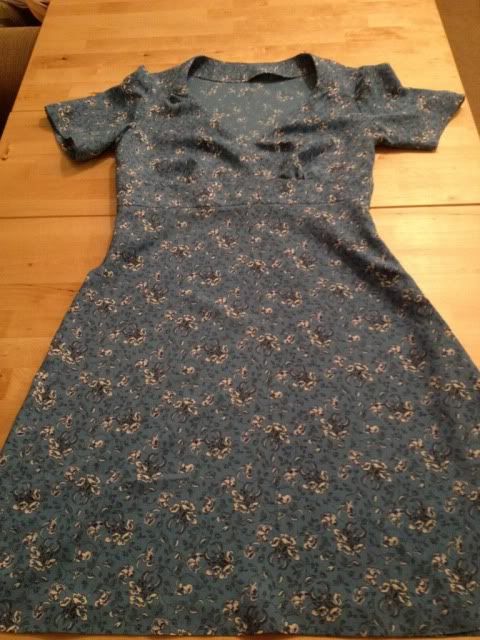
I love my Hunger Games Reaping dresses on the hanger, but I never took them outdoors. The neckline is too low-cut for work, and every cami combination I tried looked bad. I tried wearing the white one on a lazy summer day and felt like it was too dressy. I'll try the blue one again this fall, maybe with a navy cami? Tights and boots? I don't know. They fit too nice to abandon and I really like them on the hanger, but maybe there are just not my style. I never even took a picture of me wearing them.
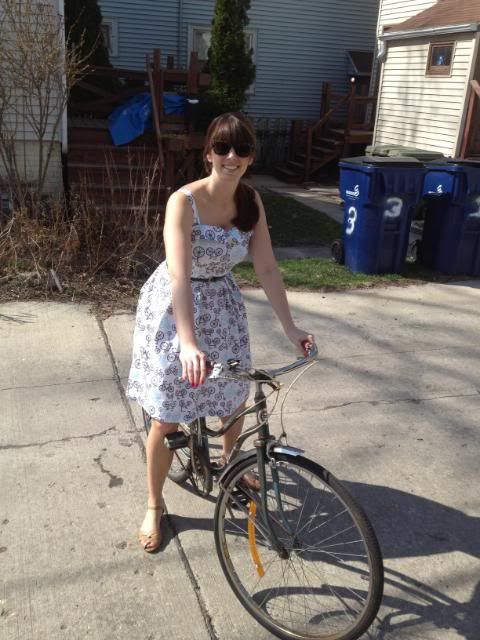
Earlier this year, I went around knocking off dresses I saw online. It's great to be like "$198? Are you joking? I bet I could make that for $20!" and actually do it. I wore both of these a lot this summer, not surprisingly. I love a good summer sundress.
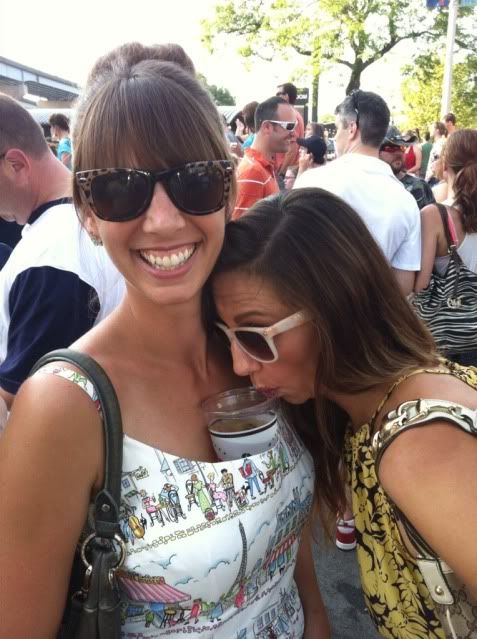
The Paris dress looks cute on a hot day AND doubles as a drink holder for my sister!
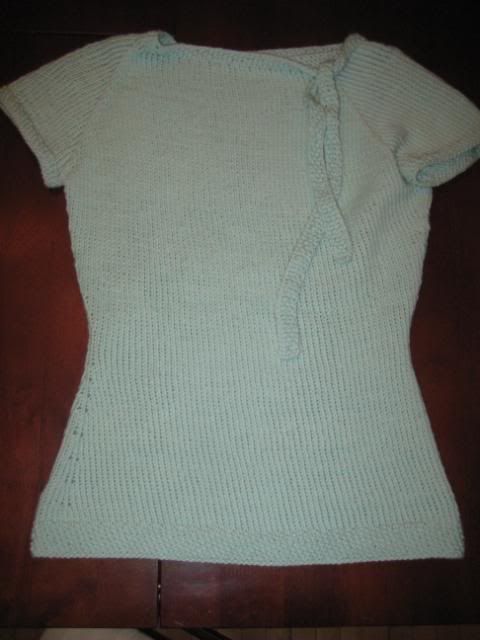
I also knitted a couple garments! I made two of this sweater, which was a free download from Ravelry. It was really easy and each took about two weeks. I'm very happy with how they turned out, and both have gotten their fair share of outings. For my next knitting project, I want to do a long-sleeved sweater or a cardigan!
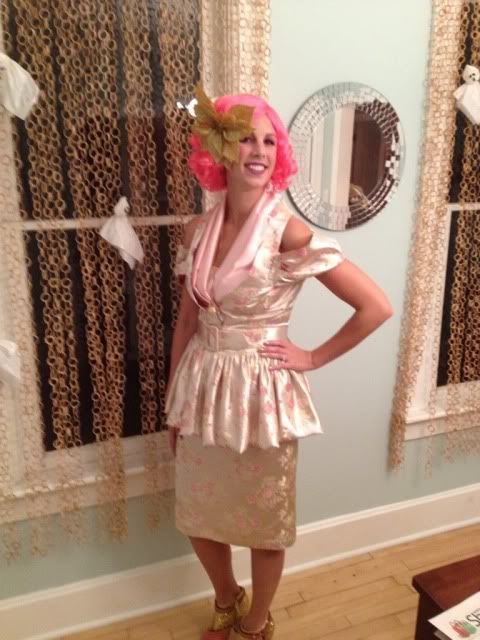
My favorite thing I made this year had to be my Halloween costume! This outfit was definitely the hardest, most complicated thing I have ever made. It turned out fantastic and really boosted my sewing confidence.
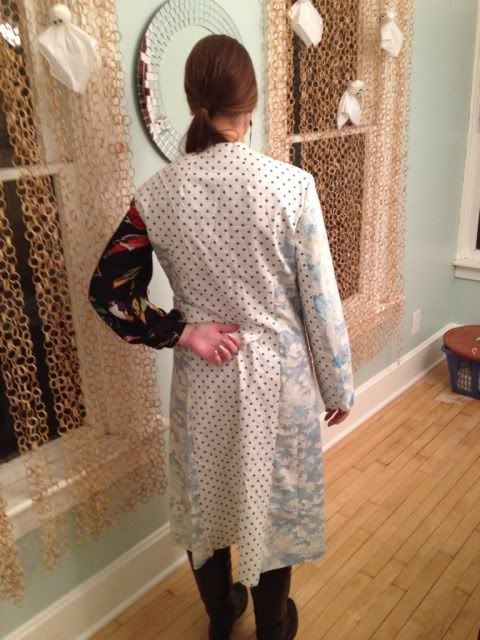
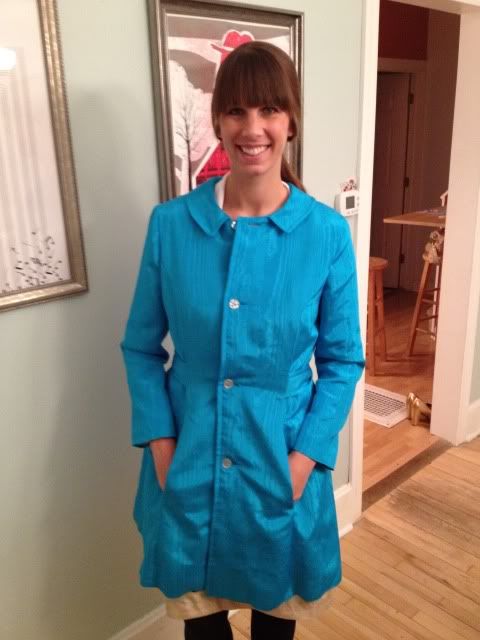
Boosted it enough to tackle a coat! I LOVE this coat, guys. I have been wearing it a ton. It brightens up every outfit and it's just what I need on these dreary November days.
So, that's it, guys! I didn't churn out a bazillion garments like I did last year, but I definitely made some lasting additions to my wardrobe.
Now, for the good stuff. For sticking with me the last two years, I'm offering up a
Sewaholic pattern of your choice. I know we all love Tasia's gorgeous patterns, so if you haven't sewn one up before, here's your chance! Just leave me a comment with you email address and which pattern you would like! I'll pick the winner on Tuesday.
Thanks for being such great readers for another year! I really appreciate all the feedback and encouragement I get from my fellow sewers. Here's to another year of sewing!
Love,
Amy