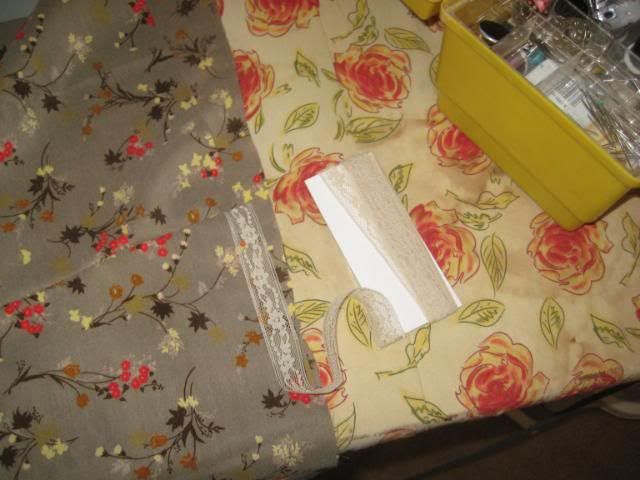
First up, I sewed the back center and the side seams of the skirt. Then I selected the closest match I had on hand from my stash of vintage hem tape. I sewed that on.
Having completed the skirt, there was no putting it off any longer - I had to go to sleeve town. I set my stitch length to the longest stitch, and basted twice across the top. This makes the fabric curve and resemble a sleeve. (I swear I am not drinking at 9:00 a.m! The glass is from yesterday.)
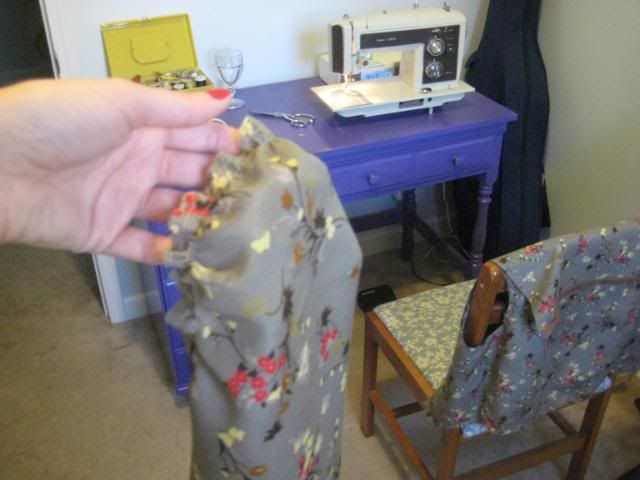
I did the same to the other sleeve, and then sewed the underam seams.

It's very important to press seams open. It keeps your garment from looking homemade, and can smooth out minor imperfections or puckers. If I learned one thing from the sewing portion of Home Ec class, it's "steam is your friend". I use the Euro-Pro Shark Steam Iron. I also burn my fingers a lot and I'm sporting a nasty burn on my forearm that looks sort of like a worm. You have to respect the steam.
My completed sleeve is ready to attach to my dress.
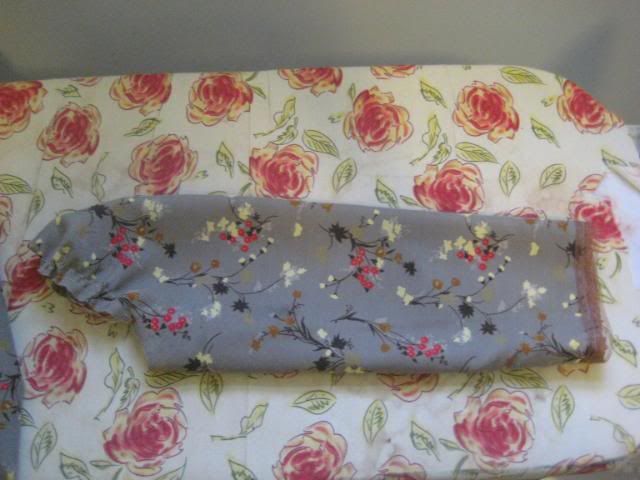
It's important to match up the seams on the underarm, and then you just pull up the basting stitch threads to fit, and pin into place.
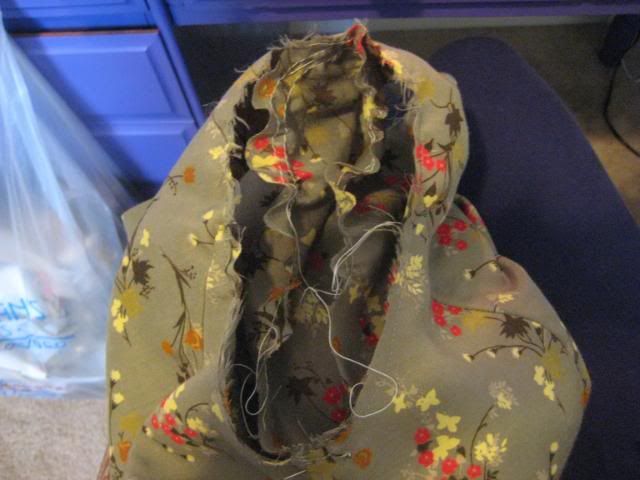
I got a pucker on the front of the dress that was impervious to steam. I ripped out a little section and re-stitched.
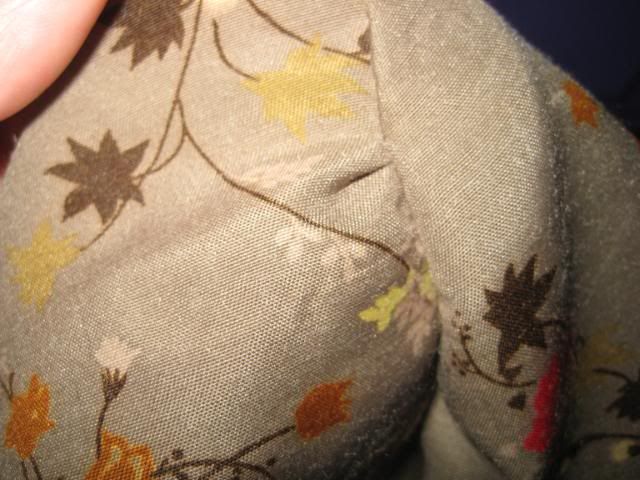
My sleeves are attached!
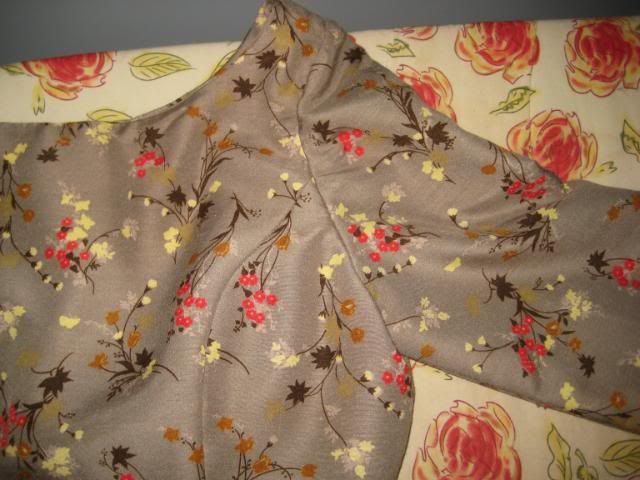
Finally, I finish my waistband with some double-fold bias tape, and put in my zipper.
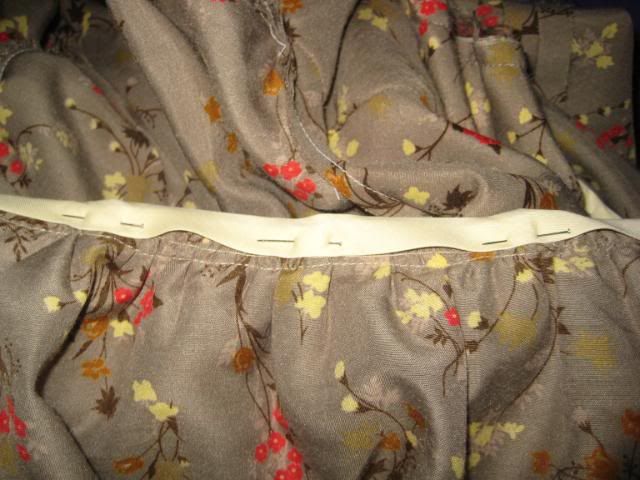
You'll have to wait until Thursday to see the dress on me! I'm feeling (and probably looking) a little sick today and wasn't in the mood to model.
Next up, I'll show you how I ruined, and then fixed, a very important vintage dress. Vintage purists, look away!


No comments:
Post a Comment