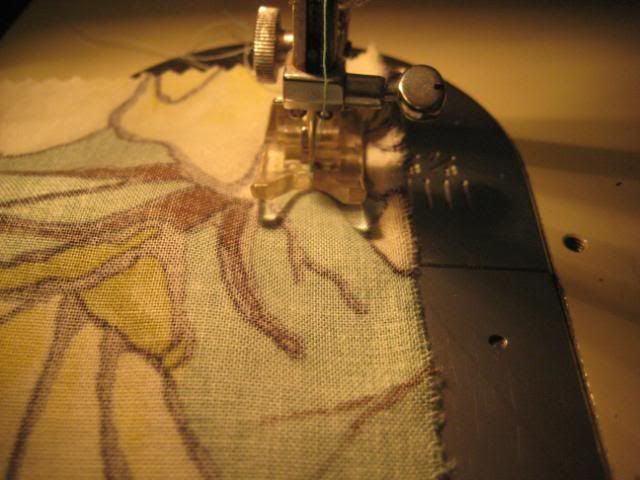
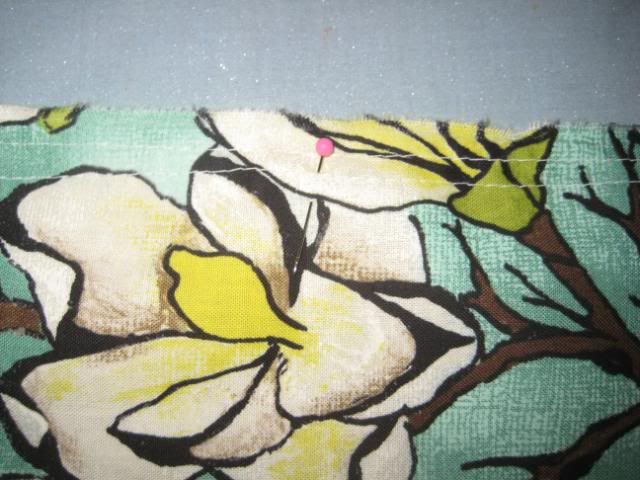
- With your machine set to the longest stitch, sew a straight line across the entire top of the skirt, leaving about an inch at each end for your zipper placket.
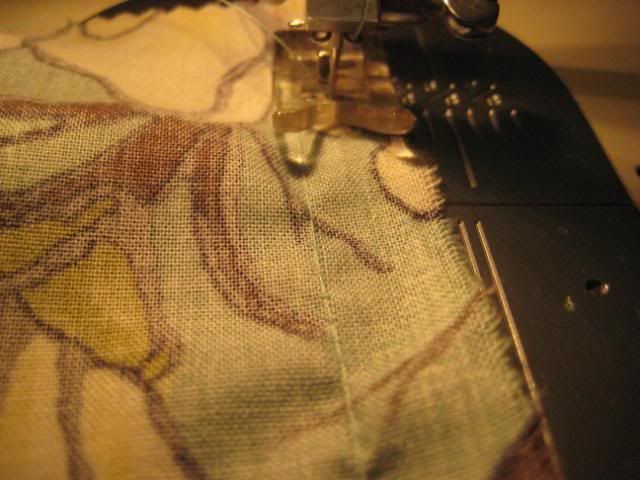
- Once you reach the end, it's time to do it all over again! Put your skirt back under the machine and stitch another row, just right inside the original one.
- Just like you marked the center of the waistband, you'll want to do the same with your skirt. Fold it in half and mark it with a pin. A safety pin works the best and ensures it won't fall out while gathering.
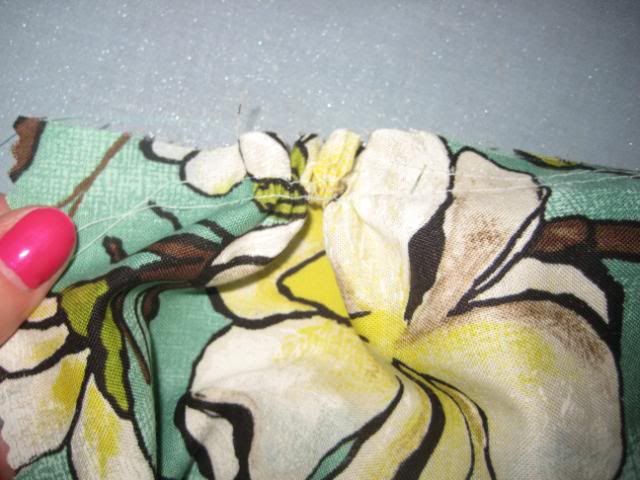
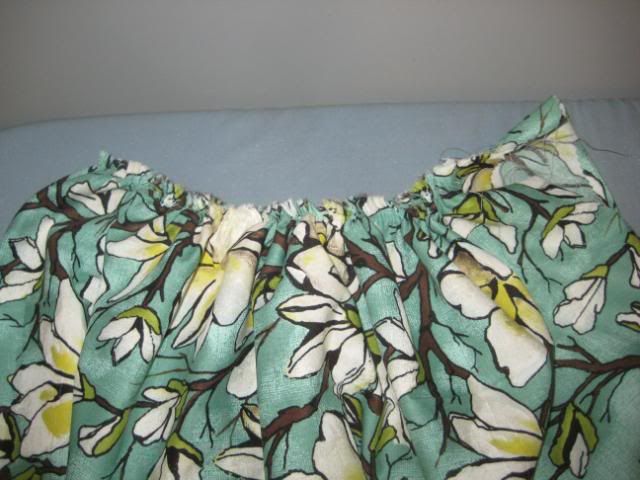
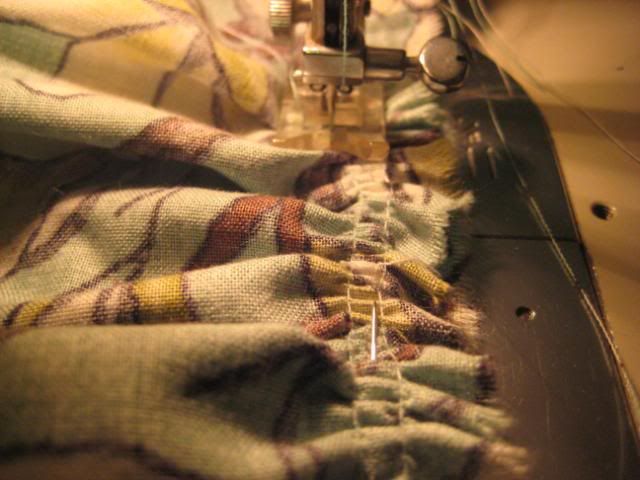
- Starting from each end, gently pull the bobbin thread until it starts to pucker. Smooth the gathers towards the center of the skirt and keep pulling, then smoothing, then pulling, then smoothing. It is VERY important that you pull gently enough to not break the threads. If the thread breaks, you're screwed. Okay, not really, but you have to pick out both rows of gathering stitches and start from scratch. Trust me, it's not fun.
- Keep pulling and smoothing from both ends until it's roughly the size of your waist.
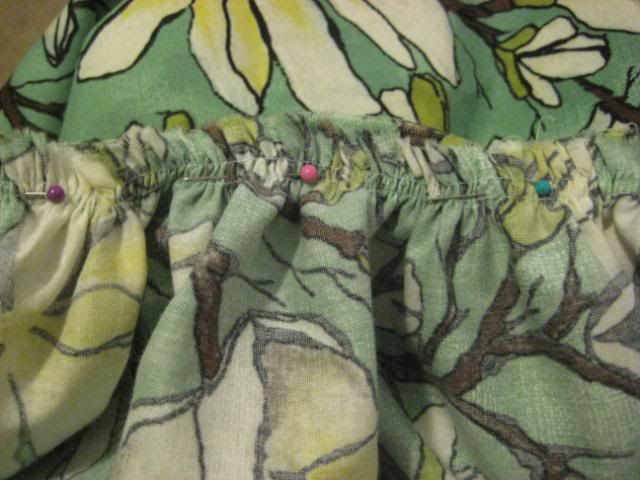
- With right sides together, match the center pin from your waistband with the center pin of your skirt. Pin the waistband in place at the center and both edges of the side seam.
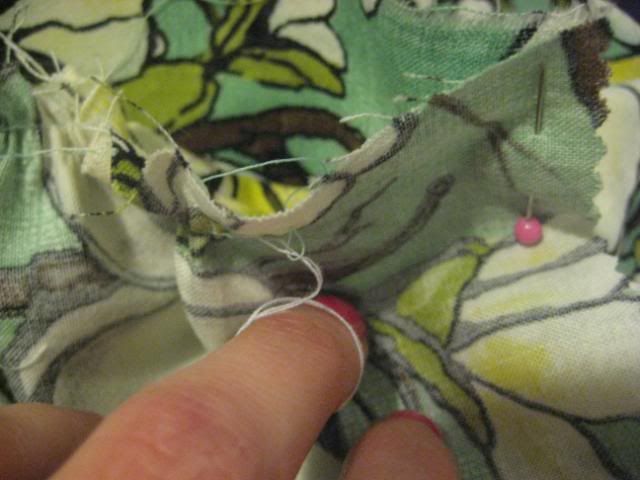
- Adjust gathers to fit waistband and pin into place. Once your gathers are the perfect length, tie off the bobbin threads to prevent them from stretching.
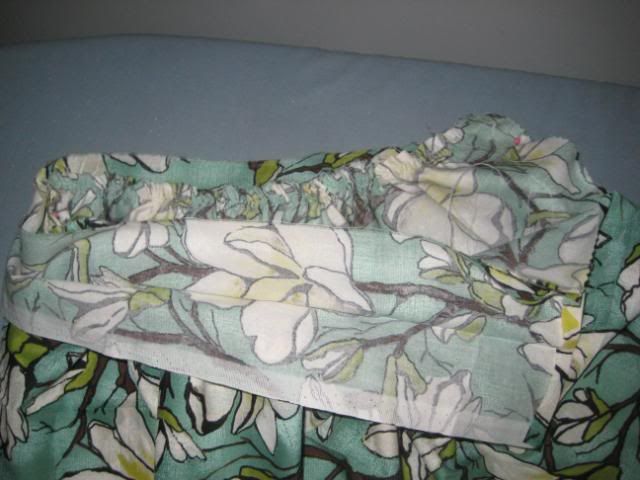
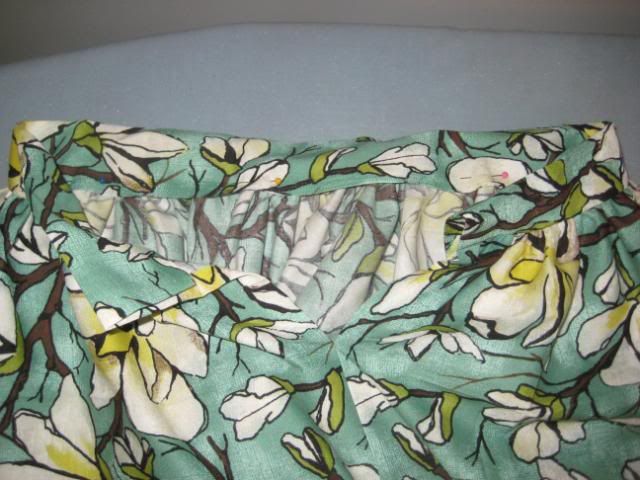
- This is what the inside of your skirt should look like.
- Sew your waistband to the skirt gathered side UP. It's very important to have the gathers facing up so you can push and smooth them into place with your fingers as you sew. Otherwise, your pleats could end up sideways and you'll have to rip the entire thing out and start over. I learned that the hard way the first time I made a dress with a gathered skirt.
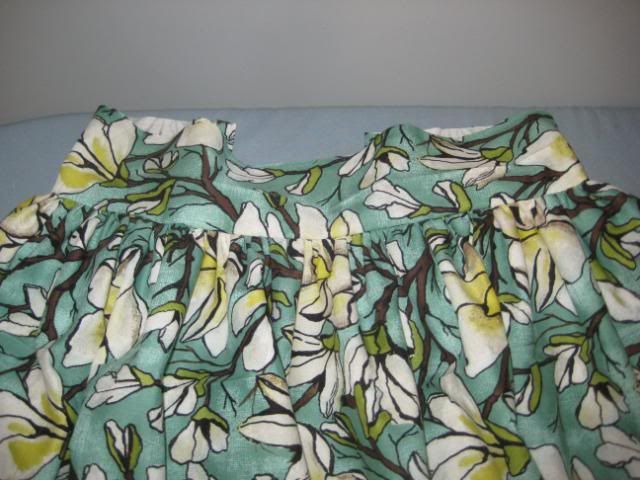
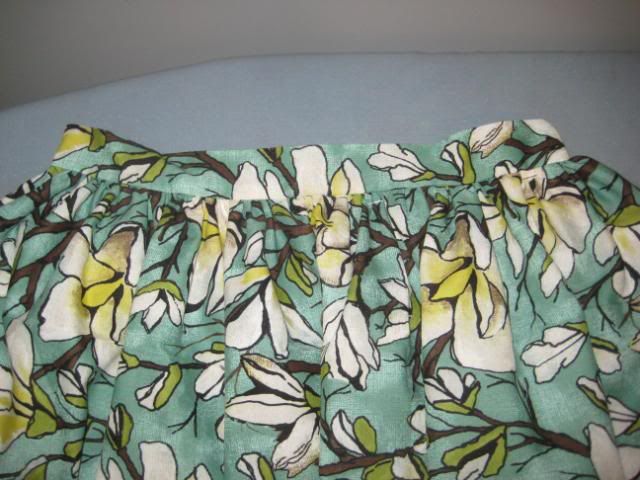
- Once you've sewn your waistband on, your skirt should be looking like this:
- Fold your waistband over and pin into place. This is why we fold it in half and iron it before we sew it on. It makes it so much easier when we get to this step!
- Slipstitch the waistband in place, and everything is done except the zipper and hem!
For the hem and zipper, you can use whichever method you prefer. I like to do both by hand because my machine freaks out when I try to use the zipper foot, and I secretly really enjoy hand hemming things. For a casual skirt, I think a simple machine sewn hem looks fine. If you're making a skirt out of fancy (or thin) fabric, hand sewing is best.
Good luck with your sewing and leave me a comment if you have any questions!


Thank you so much for the tutorial! It was perfect, I'm now the proud owner of a slightly wonkily-hemmed skirt covered in 50's radios. Makes a great change to my usual skinny jeans!
ReplyDelete